Showing posts with label recipe. Show all posts

Saturday, February 8, 2014

12 Freezer to Crock Pot Meals

It was when I realized I had only eaten a total of around 5 pieces of meat all last semester that I knew something needed to change (not good for a busy and stressed girl that already has low iron). I devised a plan to put together freezer meals that I could stick in the crock pot to have dinner that night and heat up the other half the next night.

One day before the start of my semester I took my list of ingredients and went on a shopping trip. I spent a total somewhere around $55 dollars which includes most ingredients listed below (however I had to buy some gluten free products which equals more $$$ and chicken breast did NOT happen to be on sale). I admit I could have done better. I came home with my ingredients and it only took me about 2 hours of chopping and dicing to put everything together.


Notes:
1. I split all these recipes between 2 bags.
2. Seal, mix, lay flat, freeze.
3. Do NOT forget Ziploc Freezer bags and Sharpie!
4. Most of these I serve with rice or quinoa.


Here are the meals I made:


Cilantro Lime Chicken with Corn and Black Beans


Ingredients:
4 chicken breasts
Juice from 2 limes
1 bunch fresh cilantro, chopped
1 (16 oz) bag frozen corn
2 minced garlic cloves
1/2 red onion, chopped
1 can black beans, drained and rinsed
salt and pepper to taste

Write on Bag:
Thaw in fridge for 24 hours. Cook on LOW for 8 hours or HIGH for 4 hours.

Directions:
1. Place all ingredients in a resealable gallon-sized freezer bag.
2. Mix together and zip bag closed.


Honey Sesame Chicken


Ingredients:
4 teaspoons cornstarch dissolved in 6 Tablespoons water
1 cup honey
1/2 cup soy sauce
1/2 cup diced onion
1/4 cup ketchup without high fructose
2 tablespoons vegetable oil
2 cloves garlic, minced
4 boneless, skinless chicken breasts
Sesame seeds for garnish

Write on Bag:
Cook on low 4-6 hours.
Remove chicken last hour and shred or cut into bite size pieces.
Garnish with sesame seeds and/or additional red pepper flakes if desired.

Directions:
1. Dissolve cornstarch and water in a gallon size freezer bag.
2. Add the remaining ingredients, except chicken and sesame seeds.
3. Seal and combine thoroughly by gently kneading ingredients.
4. Add chicken, seal and freeze until crocking day.


Hawaiian Chicken

Ingredients:
4 Chicken Breasts
1 can of pineapple chunks
1 red onion
2 Teaspoons of garlic
12-24 baby carrots or a couple handfuls of sliced carrots

Write on Bag:
Add 1/4 cup of Teriyaki sauce BEFORE cooking or preparing this freezer meal.
Cook on high for 4-5 hours or low for 8 hours.

Directions:
1. Chop up your red onion and place in bag with FROZEN chicken breasts.
2. Add carrots, garlic and the entire can of pineapple chunks (juice and all).


Teriyaki Chicken

Ingredients:
Medium – Large bag of carrots
Red onion into large chunks
2 large cans pineapple (undrained)
4 garlic cloves
4 chicken breasts
1 cup teriyaki sauce

Write on Bag:
Add additional ¼ cup sauce to crook pot.
Cook low 6-7 hours.


Beef and Broccoli

Ingredients:
1 lb boneless beef chuck roast, sliced into thin strips
1 c beef broth
1/2 c soy sauce
1/3 c brown sugar
1 tbsp sesame oil
3 garlic cloves, minced
2 tbsp cornstarch
2 tbsp sauce from the crock pot after being cooked
Fresh broccoli florets

Write on Bag:
Thaw slightly.
Cook on low for 6-8 hours.
In a cup, stir cornstarch and some sauce from the crock pot until smooth. Add to crock pot. Stir well to combine.
Cover and cook an additional 30 minutes on high (the sauce has to boil for it to thicken).


Southwest Chicken

Ingredients:
1 can of corn, drained
1 can of black beans, drained
1 16oz jar of salsa
4 chicken breasts

Write on the bag:
Add 1 (8oz) brick of cream cheese.
Cook on high for 6-7 hours and low for 7-8 hours.
Remove and shred the chicken 30 minutes before serving.
Cut up the cream cheese into chunks and add to the crock pot with the chicken.

Directions:
Add the corn, black beans, salsa, and chicken to the ziploc bag.


A well stocked freezer!


-Dani

Friday, November 29, 2013

Christmas Crafts

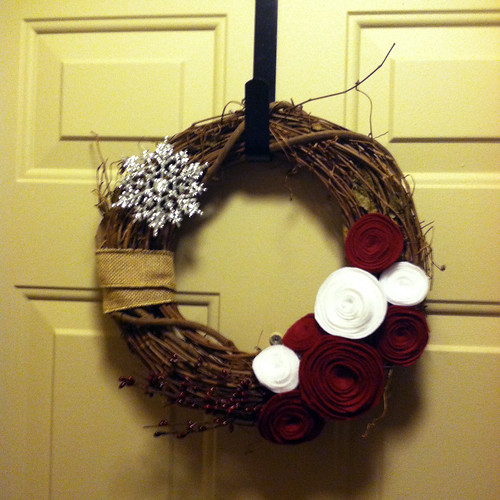
Last weekend I must have been feeling in the Christmas spirit. Okay, really I was just putting off working on my final projects for school. Here are some crafts I did to make my apartment a bit more Christmasy. Sorry for the quickly taken photos!

I was inspired by a wreath that my sisters' friend made so I looked up a felt flower how to (I used this one here) and ended up with this for our door!
photo 2


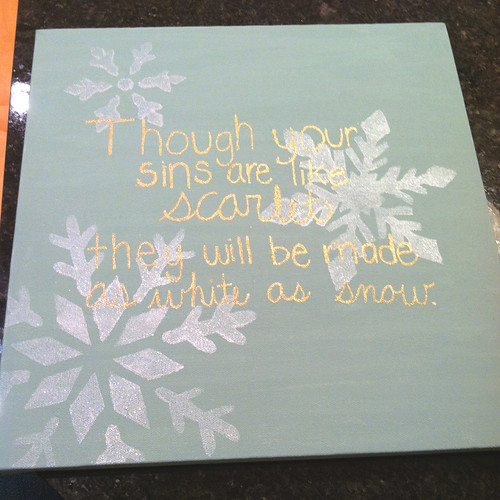
I also painted this canvas with snowflake templates that my mom made and wrote on it with a gold metallic paint marker.
photo 4


I am excited for school to be over so I can work on some more crafts without feeling guilty!

P.S. I just have to share an amazing gluten free banana bread recipe here that is actually easy and doesn't require a bunch of strange ingredients. Check it out.

-Dani

Wednesday, December 5, 2012

Back with Delicious Cookies

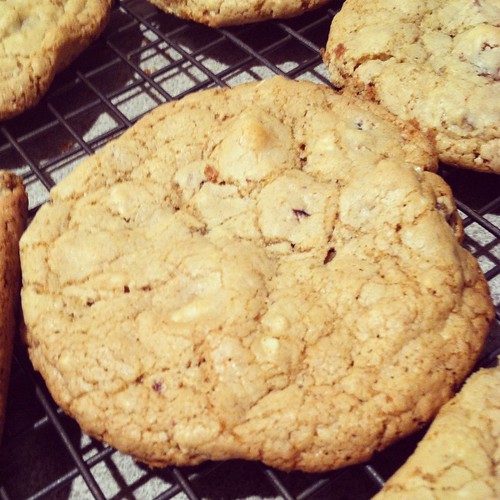
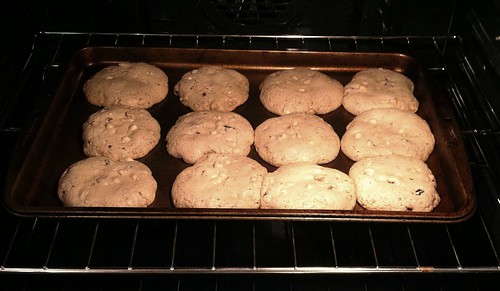
School has been absolutely insane but with classes winding down this week and just one final left, I have finally had a moment to breathe! So I made cookies! In my mind, I had been wanting to make a cookie with oatmeal, white chocolate chips, and dried cherries. I thought I came up with this combination all by myself, but turns out, so have some other people... Really great gluten free recipes are pretty hard to come by so I found a decent sounding recipe and tweaked it a bit.

Untitled


Here is the basic idea of what I did:

Ingredients:
2 cups all purpose flour (I used a gluten free flour)
1 teaspoon baking soda
1/2 cup oats
1/2 cup softened butter
3/4 cup sugar
3/4 cup dark brown sugar (I used light and everything still worked out fine)
2 eggs
1 cup white chocolate chips
3/4 or 1 cup of chopped dried cherries
3/4 or 1 cup of chopped walnuts
*I also added vanilla extract. Probably about 1 teaspoon.


Preheat oven to 350 degrees.
In bowl, whisk together flour and baking soda and set aside.
Mix together butter, sugar, and brown sugar until light and fluffy.
Add eggs one at a time, mixing well after each one.
Add flour mixture and oats.
Mix in chips, cherries, and walnuts.
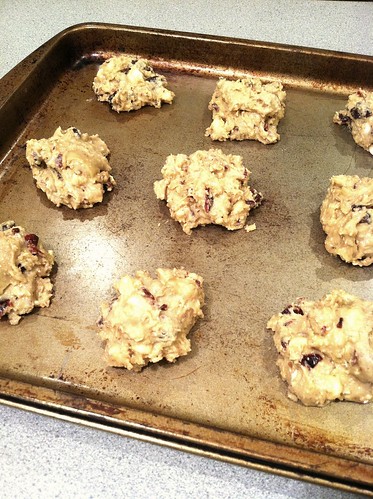
Drop by tablespoon onto parchment paper covered cookie sheet.
Bake for 8-12 minutes.

Untitled

Untitled


After tasting the gluten free dough and watching them expand in the oven, I was convinced these would turn out absolutely horrendous. But much to my surprise they are simply amazing and super addictive! I am also glad I made them large! It makes them even better! Something about them makes me not feel guilty about eating them for breakfast. I will be making more very soon!


-Dani

Sunday, October 7, 2012

Pumpkin Snickerdoodles

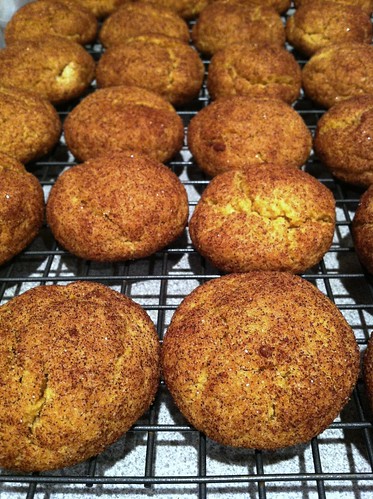
I know everyone right now is baking, eating, carving, and picking pumpkins so I apologize for the boring post. I had to taste these for myself though, hoping they would be worth the failure of trying to stay away from gluten.

Everyone in my house will tell you that I make amazing plain ol' snickerdoodles. Those and no- bakes are my specialty. My secret to snickerdoodles is surely the recipe though, not me. When I found this recipe on pinterest (of course) I knew I had to make them. Snickerdoodle + pumpkin sounds like a winner to me.

I considered using the amazing normal recipe I use and just adding pumpkin pie spice and pumpkin puree but I was too nervous that the puree might make the cookies too moist or something. The recipes aren't too different and Megan said she made these the other day and they were "awesome", so I just stuck to the recipe I found.

Like always, my dad was crazy about them. I couldn't help myself from thinking back to church this morning where they showed this clip from one of my favorite movies, "What About Bob". Luckily my dad wasn't this bad.


My mom's first word was "unique". I'm going to have to agree with her. They are really good, just not quite as delicious as the ones I usually make. My baking with pumpkin craving was satisfied but I think I will just make the recipe I am known for next time.

Pumpkin snickerdoodles


In other news, I'm so excited! The best sisters, Megan and Jenny, are coming home this weekend! So hopefully we can sneak a post in!


-Dani

Saturday, September 15, 2012

Another Pinterest Success Story

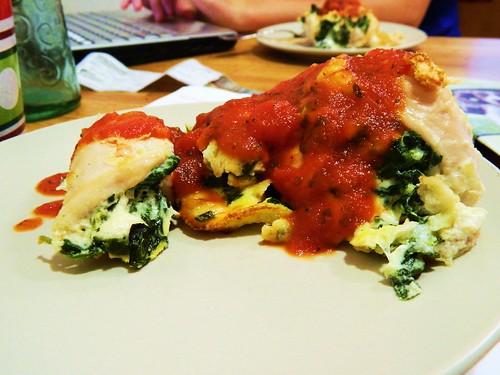
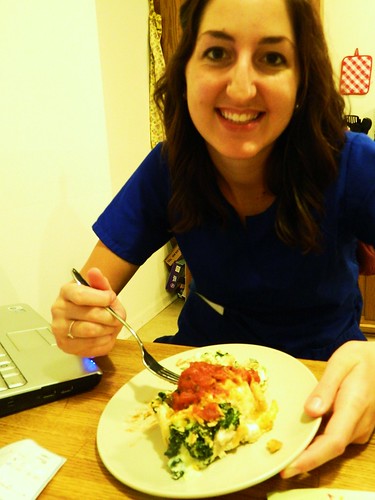
Yes, this is a story of another Pinterest inspiration. A delicious one. I don't make dinner often, but this Chicken-Parmesan Bundles post on recipe.com inspired me to immediately get up and go to Kroger to get ingredients (I miss Meijer like crazy). I also like to surprise Megan with dinner when she gets home from working on my days off. =)

DSCN1623

Ingredients:

4 oz. PHILADELPHIA cream cheese, softened
10 oz. frozen, chopped spinach, thawed and well-drained
1-1/4 cups Mozzarella cheese, divided
6 Tbsp. grated Parmesan cheese, divided
6 small boneless skinless chicken breast halves, pounded to 1/4 inch thickness
1 egg
10 RITZ crackers, crushed
1-1/2 cups spaghetti sauce, heated

**Also handy to have toothpicks!

Directions:

1. HEAT oven to 375 degrees F.
2. MIX cream cheese, spinach, 1 cup mozzarella and 3 Tbsp. Parmesan until well blended; spread onto chicken breasts. Starting at one short end of each breast, roll up chicken tightly. Secure with wooden toothpicks, if desired.
3. BEAT egg in shallow dish. Mix remaining Parmesan and cracker crumbs in separate shallow dish. Dip chicken in egg, then roll in crumb mixture to evenly coat. Place, seam-sides down, in 13x9-inch baking dish sprayed with cooking spray.
4. BAKE 30 minutes or until chicken is done (165 degrees F). Remove and discard toothpicks, if using. Serve chicken topped with spaghetti sauce and remaining mozzarella.

So, I tweaked the recipe a little bit and cut down on the amount of chicken since I was only cooking for Megan and myself. And my technique might not have been the neatest... my bundles fell apart a little bit. But I've also never pounded chicken in my life, and I've never really made chicken on my own. I would say I did pretty well! And I would definitely make this recipe again -- it was FANTASTIC. Highly recommended. It probably has a ton of calories, but it was too good to matter.

DSCN1622
-- Jenny =)

Tuesday, July 3, 2012

Southern Peach Cobbler

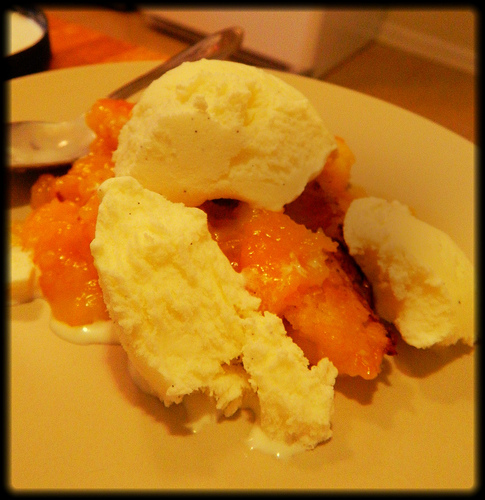
Megan & I purchased several peaches at the local farmer's market a week ago, and having been at camp all week I didn't get a chance to eat them before they got too ripe! This afternoon was warm and rainy -- perfect for baking! Delicious solution: peach cobbler!

The recipe I used is "Easy Peach Cobbler" from myrecipes.com. I halved the recipe since I only had 2 cups of peaches instead of 4. If you want four cups, you will need approximately 6 peaches.

The part about letting the butter melt in the pan before adding the batter was weird. It says not to stir it together, but it all mixed itself up anyway. I also didn't have any lemon juice in my kitchen so I just left it out. Since I halved the recipe I used a 9x9 in. pan, and I baked it for about 25-30 minutes instead of 45. However, this stuff is so good I wish I had more peaches so I could have made the full 9x13 pan! Perfect with vanilla ice cream or whip cream!

7496633620_7c43096191


- Jenny

Wednesday, June 20, 2012

Reese's Cookie Brownies

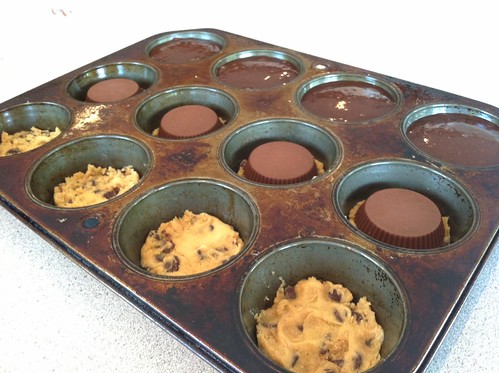
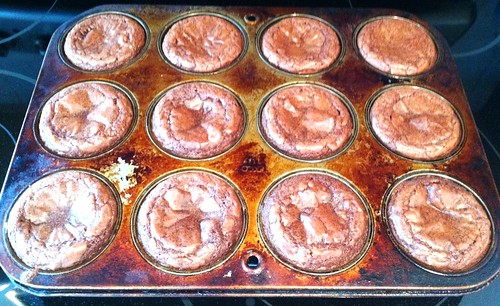
Reese's cookie brownies are very simple to make and are satisfying to both chocolate and peanut butter lovers. All that you'll need are Reese's peanut butter cups, chocolate chip cookie dough, and fudgy brownie mix. You can either use refridgerated break and bake cookie dough or make it from scratch.

Untitled

Untitled

Reese's Cup Chocolate Chip Cookie Brownie

You will need: Reese's peanut butter cups, chocolate chip cookie dough, and brownie mix.

1. Preheat oven to 350 degrees and lightly grease muffin pan.
2. Press 1-1/2 break and bake cookies into each bottom.
3. Place Reese's peanut butter cup upside down on top of cookie dough.
4. Fill 3/4 full with brownie batter.
5. Bake for 18- 20 minutes, let cool, then enjoy!

-Dani